Payment and Subscription
Introduction
The payment feature is built on Stripe, which is the most popular solution for now.
Project Structure
If you check django_app directory.
django_app
├── demo_stripe
├── payment
Notes:
demo_stripecontains demo code, which show you how to integratedj-stripepaymentis the Django app which used exclusively bySaaS Hammerlive site, you can ignore and remove it from your project.
ENV
# stripe
STRIPE_LIVE_MODE=0
STRIPE_TEST_SECRET_KEY=sk_test_xxxx
STRIPE_TEST_PUBLIC_KEY=pk_test_xxxx
STRIPE_LIVE_SECRET_KEY=sk_live_xxxx
STRIPE_LIVE_PUBLIC_KEY=pk_live_xxxx
DJSTRIPE_WEBHOOK_SECRET=whsec_xxxx
- The above ENV are used by
dj-stripe, - In new version of the
dj-stripe, please store theSTRIPE_TEST_SECRET_KEYandSTRIPE_LIVE_SECRET_KEYin the Django admin (Stripe API Key), or you will get warningYou don't have any API Keys in the database. Did you forget to add them?and some features might not work as expected.
dj-stripe Intro
dj-stripe is a Django package which can let you work with Django ORM instead of calling Stripe API directly.
Example 1
Create Stripe Customer from Django User.
You can create Customer using stripe API.
response = stripe.Customer.create(
    email=self.request.user.email,
    metadata=metadata,
)
Or you can do it via dj-stripe
from djstripe.models import Customer

Customer.get_or_create(
    subscriber=request.user,
)
Notes:
- The
dj-stripewill help send request to Stripe API to createCustomer, and also createCustomerinstance in the database.
Example 2
from djstripe.settings import djstripe_settings


class PaymentsContextMixin:

    def get_context_data(self, **kwargs):
        context = super().get_context_data(**kwargs)
        context.update(
            {
                "STRIPE_PUBLIC_KEY": djstripe_settings.STRIPE_PUBLIC_KEY,
            }
        )
        return context
Notes:
dj-stripecan help us exposestripe public keyaccording to theSTRIPE_LIVE_MODE- So we can switch between
stripe test modeandstripe live modeby just changingSTRIPE_LIVE_MODEenv variable.
Setup
This section will show you how to config Stripe and make it run.
To avoid confusion, please delete stripe testing data first, you can do it on stripe developers page in test mode.
# install stripe CLI https://stripe.com/docs/stripe-cli

$ stripe login
$ stripe listen --forward-to 127.0.0.1:8000/stripe/webhook/

> Ready! You are using Stripe API Version [2023-08-16]. Your webhook signing secret is XXXXXX
The above command will redirect stripe webhook events to local dev server, I will talk about it with more details in a bit.
And then, add Stripe relevant env variable in the env file, you can get DJSTRIPE_WEBHOOK_SECRET from the stripe listen --forward-to command terminal output.
STRIPE_TEST_SECRET_KEY and STRIPE_LIVE_SECRET_KEY should be added in the Django admin (Stripe API Key).
# stripe
STRIPE_LIVE_MODE=0
STRIPE_TEST_SECRET_KEY=sk_test_xxxx
STRIPE_TEST_PUBLIC_KEY=pk_test_xxxx
STRIPE_LIVE_SECRET_KEY=sk_live_xxxx
STRIPE_LIVE_PUBLIC_KEY=pk_live_xxxx
DJSTRIPE_WEBHOOK_SECRET=whsec_xxxx
# create dj-stripe tables
$ python manage.py migrate

# pull data to from Stripe.com to local database
$ python manage.py djstripe_sync_models
Since we already deleted Stripe testing data, the djstripe_sync_models will not create any new records.
Let's run command to create Product, Price in Stripe test mode.
$ python manage.py bootstrap_demo_products
If you check Products page on Stripe dashboard, then you would be able to see them.
Basic plan
    $10/month
    $100/year

Starter plan
    $20/month
    $200/year

Pro plan
    $30/month
    $300/year
# sync data from Stripe.com to local database
$ python manage.py djstripe_sync_models
$ python manage.py runserver
# check on http://127.0.0.1:8000/admin/djstripe/product/
If you can see the product data, then it means the demo_stripe is setup successfully.
Manual Test
Before the test, please make sure the stripe listen --forward-to command is running, or some features might not work as expected.
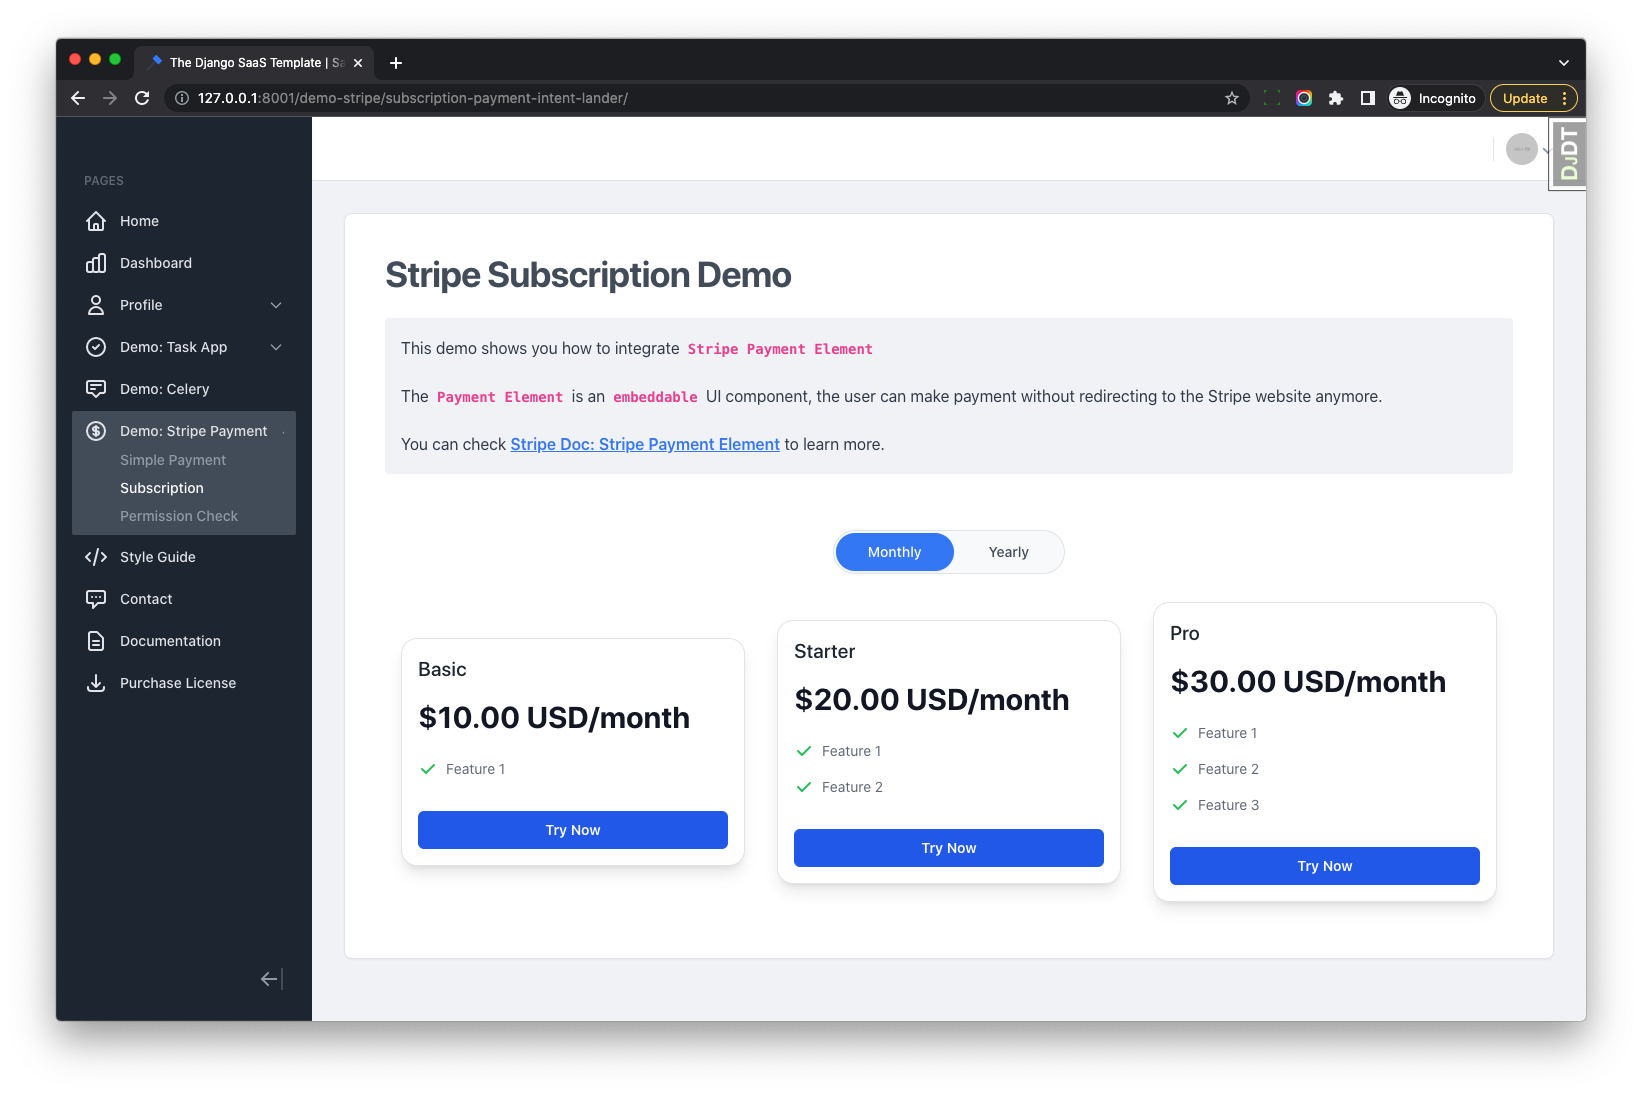
Please test Stripe Checkout Session on http://127.0.0.1:8000/demo-stripe/item-checkout-session/
Please test Subscription on http://127.0.0.1:8000/demo-stripe/subscription-payment-intent-lander/
Webhook Notification
A webhook enables Stripe to push real-time notifications to your app. Stripe uses HTTPS to send these notifications to your app as a JSON payload. You can then use these notifications to execute actions in your backend systems.
There are mainly two ways to handle Stripe webhook notification.
Solution 1: dj-stripe
It is recommended to write webhook handler with dj-stripe's @webhooks.handler
import logging
from djstripe import webhooks

LOGGER = logging.getLogger(__name__)

@webhooks.handler("checkout.session.completed")
def checkout_complete_webhook_handler(event):
    """
    We can confirm payment in the webhook handler
    """
    session = event.data["object"]
    customer_details = session["customer_details"]
    LOGGER.info(customer_details)
You can check django_app/demo_stripe/event_handlers.py for more details.
Solution 2
Or you can write webhook handler with Stripe API directly.
@csrf_exempt
def webhook_view(request):
    endpoint_secret = settings.DJSTRIPE_WEBHOOK_SECRET
    payload = request.body
    sig_header = request.META["HTTP_STRIPE_SIGNATURE"]

    try:
        event = stripe.Webhook.construct_event(
            payload,
            sig_header,
            endpoint_secret,
        )
    except ValueError as e:
        # Invalid payload
        LOGGER.exception(e)
        return HttpResponse(status=400)
    except stripe.error.SignatureVerificationError as e:
        # Invalid signature
        LOGGER.exception(e)
        return HttpResponse(status=400)

    # Handle the checkout.session.completed event
    if event["type"] == "checkout.session.completed":
        pass

    return HttpResponse(status=200)
Frontend
Stimulus
To save developers time, below are some stimulus controllers which can be used directly.
- For
Stripe Checkout Session, please check frontend/src/lazy_controllers/checkout_controller.js - For
Stripe Payment element, please check frontend/src/lazy_controllers/payment_controller.js - For
Price Toggle, please check frontend/src/lazy_controllers/pricing_controller.js
Turbo
To make Stripe JS SDK works well with hotwired/turbo lib (avoid Failed to execute 'postMessage' on 'DOMWindow' error), there are two solutions
- Force reload page on certain pages with
<meta name="turbo-visit-control" content="reload"> - Persist initial stripe iFrame DOM Object across turbo AJAX page requests, please check https://github.com/hotwired/turbo/issues/270#issuecomment-1068130327
In SaaS Hammer, we use the latter solution and it seems working well.
Subscription
We can let dj-stripe to process below Stripe events:
customer.subscription.createdcustomer.subscription.updatedcustomer.subscription.deleted
Once dj-stripe receive the event, it will automatically sync relevant data to database.
class SubscriptionMixin(PaymentsContextMixin):
    def get_context_data(self, *args, **kwargs):
        context = super().get_context_data(**kwargs)
        context["customer"], _created = Customer.get_or_create(
            subscriber=self.request.user,
            livemode=djstripe_settings.STRIPE_LIVE_MODE,
        )
        context["subscription"] = context["customer"].subscription
        return context
The benefit of this approach is that we can access subscription object without touching Stripe API.
And we can still use the Django ORM syntax to get the data we want.
Customer Portal
To let user manage Subscription and payment method, we can integrate the customer portal
In the template, we can display a Manage Billing button to let user generate portal_session and redirect to Stripe portal.
portal_session = stripe.billing_portal.Session.create(
    customer=context["customer"].id,
    return_url=...,
)
Permission
Mixin
We can use ValidSubscriptionRequiredMixin
class SubscriptionPermissionCheckView(
    LoginRequiredMixin, ValidSubscriptionRequiredMixin, TemplateView
):
    limit_to_products = [PRO_PRODUCT, STARTER_PRODUCT]
    redirect_url = reverse_lazy("demo-stripe:subscription_payment_intent_lander")

    template_name = "demo_stripe/subscription_permission_check.html"


subscription_permission_check_view = SubscriptionPermissionCheckView.as_view()
Group
Another solution is to use the classic Django Group.
For example, if user subscribe to Pro plan, we can add the user to Pro group.
And then check permission using user.has_perm()